Get optimal results with your brand new trained algorithm by learning how to carry out actual image analyses with it.
In the Introduction to IKOSA AI section, you have been acquainted with the process of successfully training a custom image analysis algorithm. Yet, in order to perform actual analysis tasks, you have to first prepare the algorithm for examining novel image data.
In this article, you will learn how to deploy your custom IKOSA AI algorithms and subsequently analyze new image data with them.
What to expect from this page?
📑 Get started
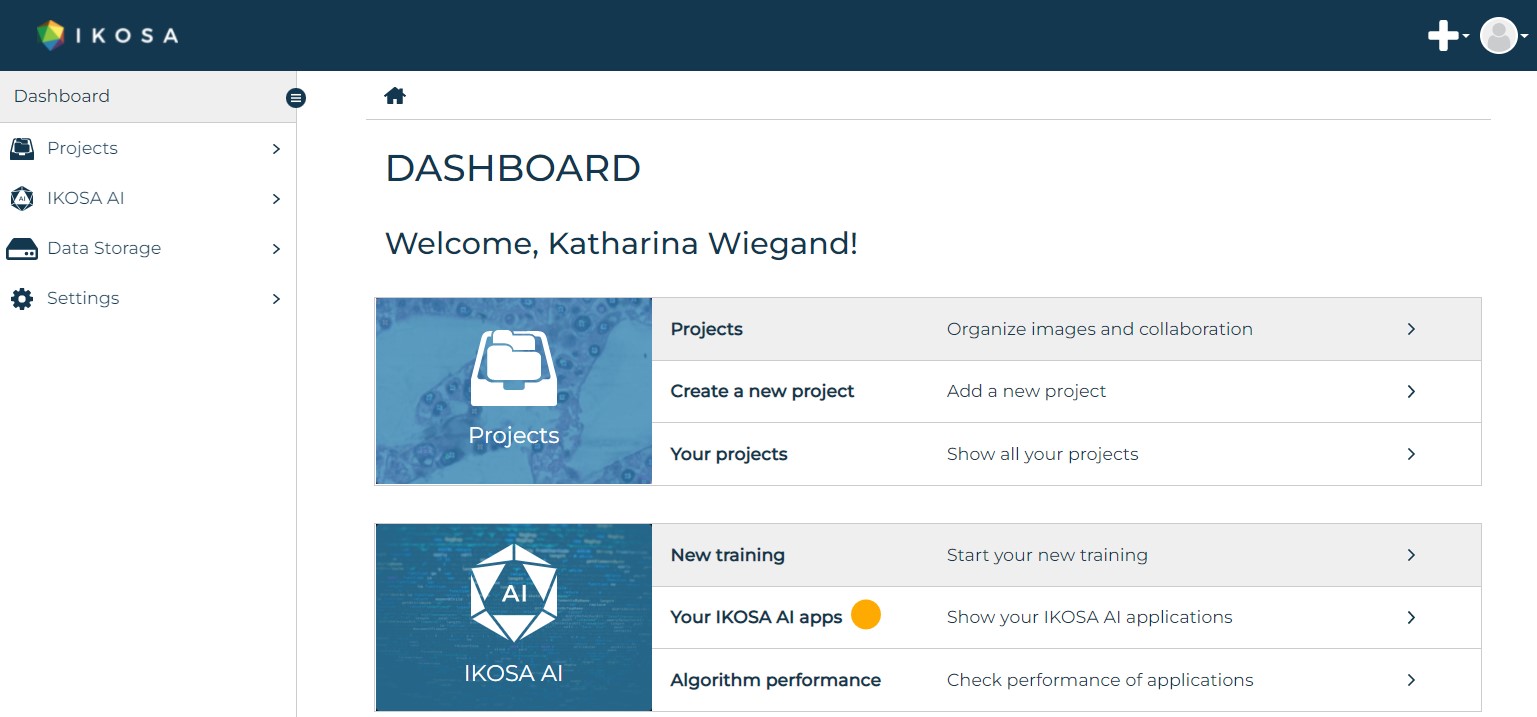
Go to the main “Dashboard”.
Click the list item “Your IKOSA AI apps”.
📑 Deploy/Undeploy your trained algorithm
Initially, your custom algorithm will be in an undeployed mode with the status “successful.”
Please note: In the trial subscription plan you cannot train or deploy any algorithms, as you don’t have access to IKOSA AI. To be able to train algorithms you have to contact us and purchase an IKOSA AI license. Per IKOSA AI license a single model can be trained. If you want to train another models, you have to request for an additional IKOSA AI Inference. Per each IKOSA AI Inference requested a single model can be trained.
For subsequently applying your custom algorithm to new image data:
Choose “Deploy” from the hamburger button.
When the status “deployed” is displayed, the status indicator switches from green to blue, and your algorithm is ready for use.
Please note: In order to be able to deploy another trained algorithm, you have to first underlay the one currently displayed. To do this, choose Undeploy from the hamburger Button and proceed deploying the new algorithm as shown above.
📑 Use your algorithm on “unseen” images
The term “unseen images” refers to image data that is novel to your trained algorithm. To run your algorithm training on novel image data follow our step-by-step guidelines.
Step 1 - Go to the “Image Library” page
Once your algorithm is deployed, switch to the respective “Image Library” of the current project:
Option 1:
Go to the “Training Overview” page.
Click the “View your application” link.
Navigate to the “Image Library” page.
Option 2:
Go to the main “Dashboard”.
Click the “Projects” list item.
Select the project for which you trained your algorithm.
Navigate to the “Image Library” page.
Step 2 - Select images and start the analysis
From the “Image Library” page
Please note: It is best to use images that were not part of the training/validation set.
In your “Image Library” choose a representative image (or multiple images) that you would like to have analyzed with your trained algorithm.
Click the “Image Analysis” button after selecting the image(s).
Go to the “IKOSA AI Applications” tab.
Choose your trained application.
Start the analysis by clicking the “Start job” button.
From the “Image Viewer”
Start image analysis directly from the “Image Viewer”.
While in image viewing mode click the “Image Analysis” button.
Go to the “IKOSA AI Applications” tab.
Choose your trained application.
Start the analysis by clicking the “Start job” button.
📑 Collect your results
Step 1 - Go to the “Image Analysis” page
Navigate to the “Image Analysis” page either by:
clicking the “Image Analysis” page on the left-hand side menu or
clicking the “Hourglass”
 icon
icon
You will then be redirected to the “Image Analysis” page.
Step 2 - Navigate to the Analysis jobs section
Once your analysis job is done, it will be displayed in the Finished tab.
Depending on the complexity of your algorithm, the analysis might take a few moments in which the job will be in an Active state.
If your analysis job is not finished yet, you can refresh the analysis jobs results section anytime by clicking the “Refresh”
button.
Step 3 - Download your results
Get all result outputs for a single image by clicking the “Download” icon next to it.
Get only an individual output file for a single image by opening the drop-down menu next to it and downloading the desired file.
Get a zipped file containing the result outputs for all images in the project by clicking the “Download all” button above the table.
Get a zipped file containing the result outputs for all images in the project merged in a single CSV-file by clicking the “Download all merged” button above the table.
Please note: For quantitative analysis you will be presented .csv files and .jpg files with visualizations.
You have done a great job obtaining solid numeric data from your images!
All you have to do now is to transfer the data into your statistical package and look for patterns in it.
If you still have questions regarding your algorithm training, feel free to send us an email at support@ikosa.ai. Copy-paste your training ID in the subject line of your email.